Proper Preparation Necessary for Success
by Mark Bolender
The most important thing a judge should see when you run a Mountain Trail pattern is a partnership between horse and rider. Show a horse that has been properly schooled and trained. Memorizing a pattern will feel overwhelming at first, but with practice this too shall pass. Don’t worry about making mistakes! Relax and enjoy the ride.
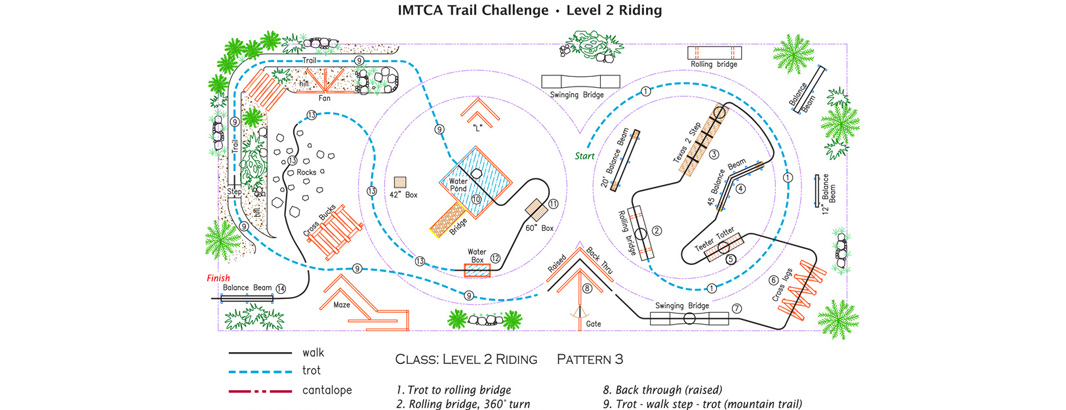
In this article we break down the Level II riding pattern used at the Washington State Horse Expo for the International Mountain Trail Show/Challenge.
To score well, the rider must always have the horse centered and straight, one horse length from the obstacle. This is true both as you enter and exit an obstacle.
The pattern begins with the trot or forward gait. The judge is looking for the trot/gait to start at once with no walk steps into it. If the trot starts a stride late then a –1 will be given for a fault. The trot/gait must be maintained without a change of speed (consistent tempo). This allows different breeds to be judged equally in the same class. The trot/gait ends at the rolling bridge in this pattern. To get a good score, one needs to be in the walk at the rolling bridge and step on; it’s all about the transition. The same is true as you exit the obstacle. The horse must be straight and centered one horse length from the obstacle. Anything else is a –½ to a –1.
Now walk your horse to the center of the rolling bridge and make a 360-degree turn without stopping. This is a forward discipline, although technique shouldn’t be sacrificed for speed. After the 360, walk forward and step off the bridge. Walk to the Texas two-step and ride four strides to the far right corner, then start your turn to the left, come back to center and step off.
Walk across the 45-degree balance beam. Don’t allow your walk to change tempo. A tip to remember is when the horse rounds the bend, keep your left leg on to bring the left hind leg under your horse as it steps onto the beam. If you don’t do this the horse might step in the hole and off the beam causing a –2 fault.
The teeter-totter is next. Step on without hesitation and begin your turn just as the teeter-totter begins to totter. A good turn will require the teeter-totter to move three times: once as the turn begins, once as you have completed a 180, and once more when the 360 is complete and you are walking off. This whole maneuver should be seamless and without stopping.
The key to the cross logs is to let the horse have its head and pick its way through on a loose rein.
Now the swinging bridge. Ride forward with no hesitation on the 360 in the center. The number one mistake is not making the turn or ending it off-center. Remember, this is a pivot without stopping. Take care here, as it is tight between the obstacles.
Set your horse up straight for the back-through and back-up without hesitation. You have up to 3 seconds without a fault or penalty, but to earn a + you must walk up, make your turn, and move into the obstacle in one fluid movement. Once you exit, turn around in one flowing movement and pick up the trot/gait without stopping. Don’t rush!
Maintain the trot/gait to the step up on the hill; come to a walk as you step up and then pick up the trot/gait at once to the water pond. This is a tough obstacle. Most horses will gain speed as they start down the hill toward the water pond. The trot/gait must be maintained to the pond. Step into the pond without hesitation and walk through and out in one smooth forward motion.
Walk across the box to the next obstacle — the water-squirting water box. Many riders hurry because they are focused on what may go wrong with the water box. The horse will feel this apprehension and will rush or jump off. Relax and trust your horse.
After the water box, pick up the trot/gait to the rock patch, transition to a walk, and trust your horse to pick its way through. If you try to override and keep a tight rein, your horse will tick the rocks, incurring penalties.
Only one obstacle left! Be sure and finish the rock patch before focusing on the balance beam. Keep your legs on to hold the horse straight, and walk over. When you complete the last obstacle make sure you turn and acknowledge the judge.
You’ve now mastered the pattern and many technical challenges. Congratulations!
Happy Trails and Bolender Blessings!
Mark Bolender is the nation’s leading expert in Mountain Trail, Extreme Mountain Trail, and Competitive Trail. He’s a three-time National Champion and one of the most popular trainers in the country. Today, Mark’s unique style of horsemanship has made the Bolender brand synonymous with these disciplines.
Mark has written for numerous national magazines and authored the popular book, Bolender’s Guide to Mastering Mountain and Extreme Trail Riding. Mark and his horse Checkers hold the sport’s all-time highest honors. Checkers was distinguished by becoming the 2020 Breyer Horse.
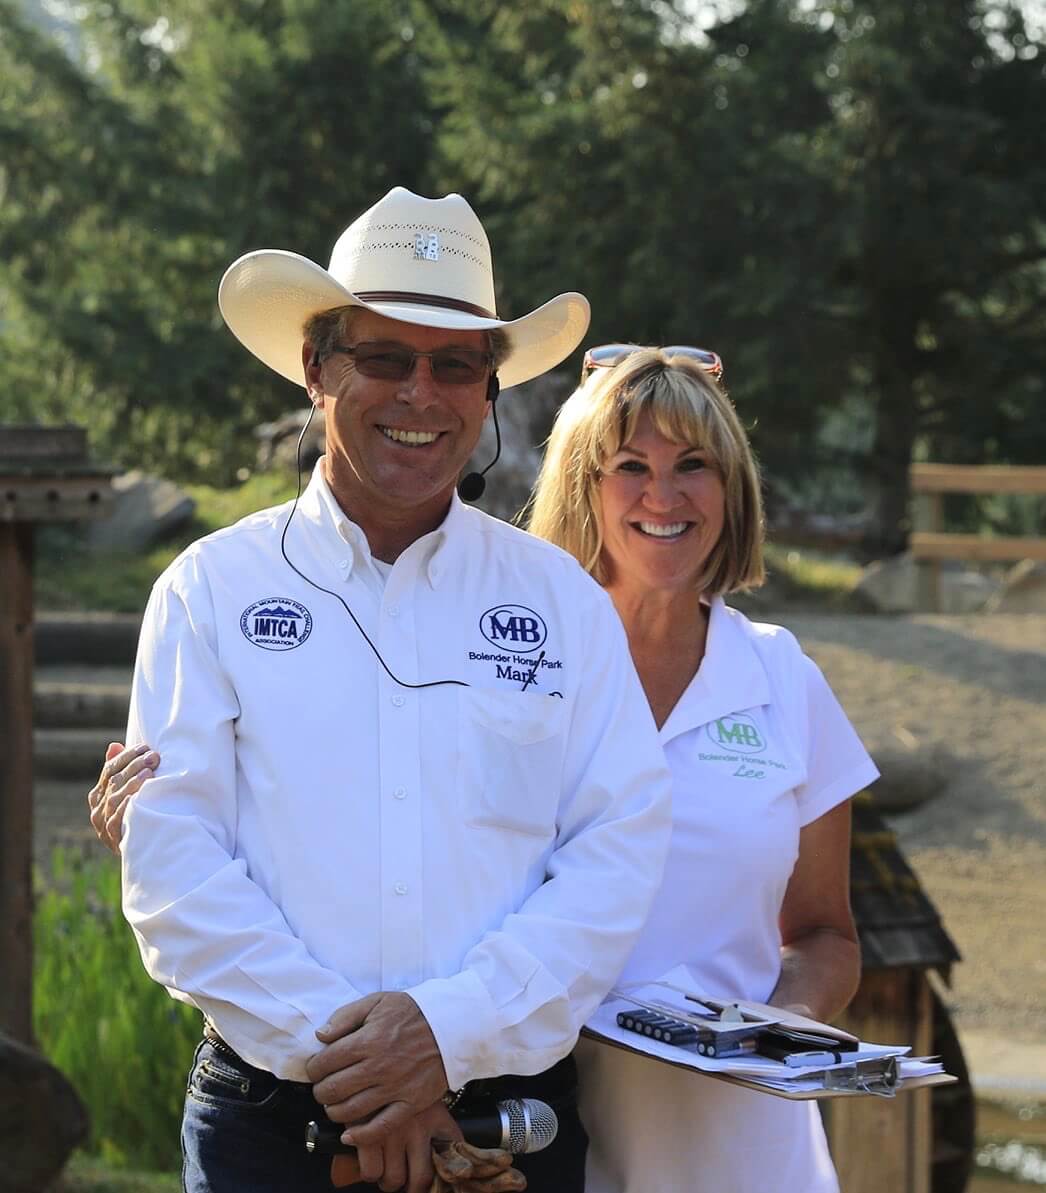
Mark and Lee Bolender founded the International Mountain Trail Challenge Association (IMTCA) to promote these sports. Today, the IMTCA trains judges, coordinates activities, and maintains certifications around the world.
Mark owns and operates Bolender Horse Park in Washington State. Mark has also designed and built Mountain Trail courses around the world.
[email protected] | (360) 269-6156 | www.bolenderhorsepark.com | www.imtca.org