

I discovered the joys of a “real” mounting block about ten years ago when I tore my right anterior cruciate ligament and several other key ligaments that stabilized that knee joint. After the requisite surgery, my wait to get back on my horse was going to be six or more months. But with a permanent mounting block, my surgeon was happy to release me at three months to get back in the saddle.
That sweet day when I could swing a leg over my horse couldn’t arrive fast enough. I was so excited for the new, sturdy mounting block my husband, Matt, was building me.
Every riding facility should have a sturdy mounting block. This essential piece of equipment aids riders in both mounting and dismounting, thereby preventing injuries and allowing greater riding accessibility to everyone. Plus, elevating the rider a foot or more from the ground reduces torque on your horse’s back as well as on the saddle.
The advantage to a permanent mounting block is stability; unlike portable mounting blocks which can be tippy when placed on uneven ground, a permanent mounting block is taller, easy to use, and will never be unstable. The disadvantage is that it is permanent, so once you have it in place there’s no moving it.
When my friend Helyn decided it was time to schedule her total knee replacement surgery I knew exactly what she would need as a get-well gift: a permanent mounting block. I volunteered Matt, got materials together, and we built Helyn her very own permanent mounting block.
Step-by-Step Plans
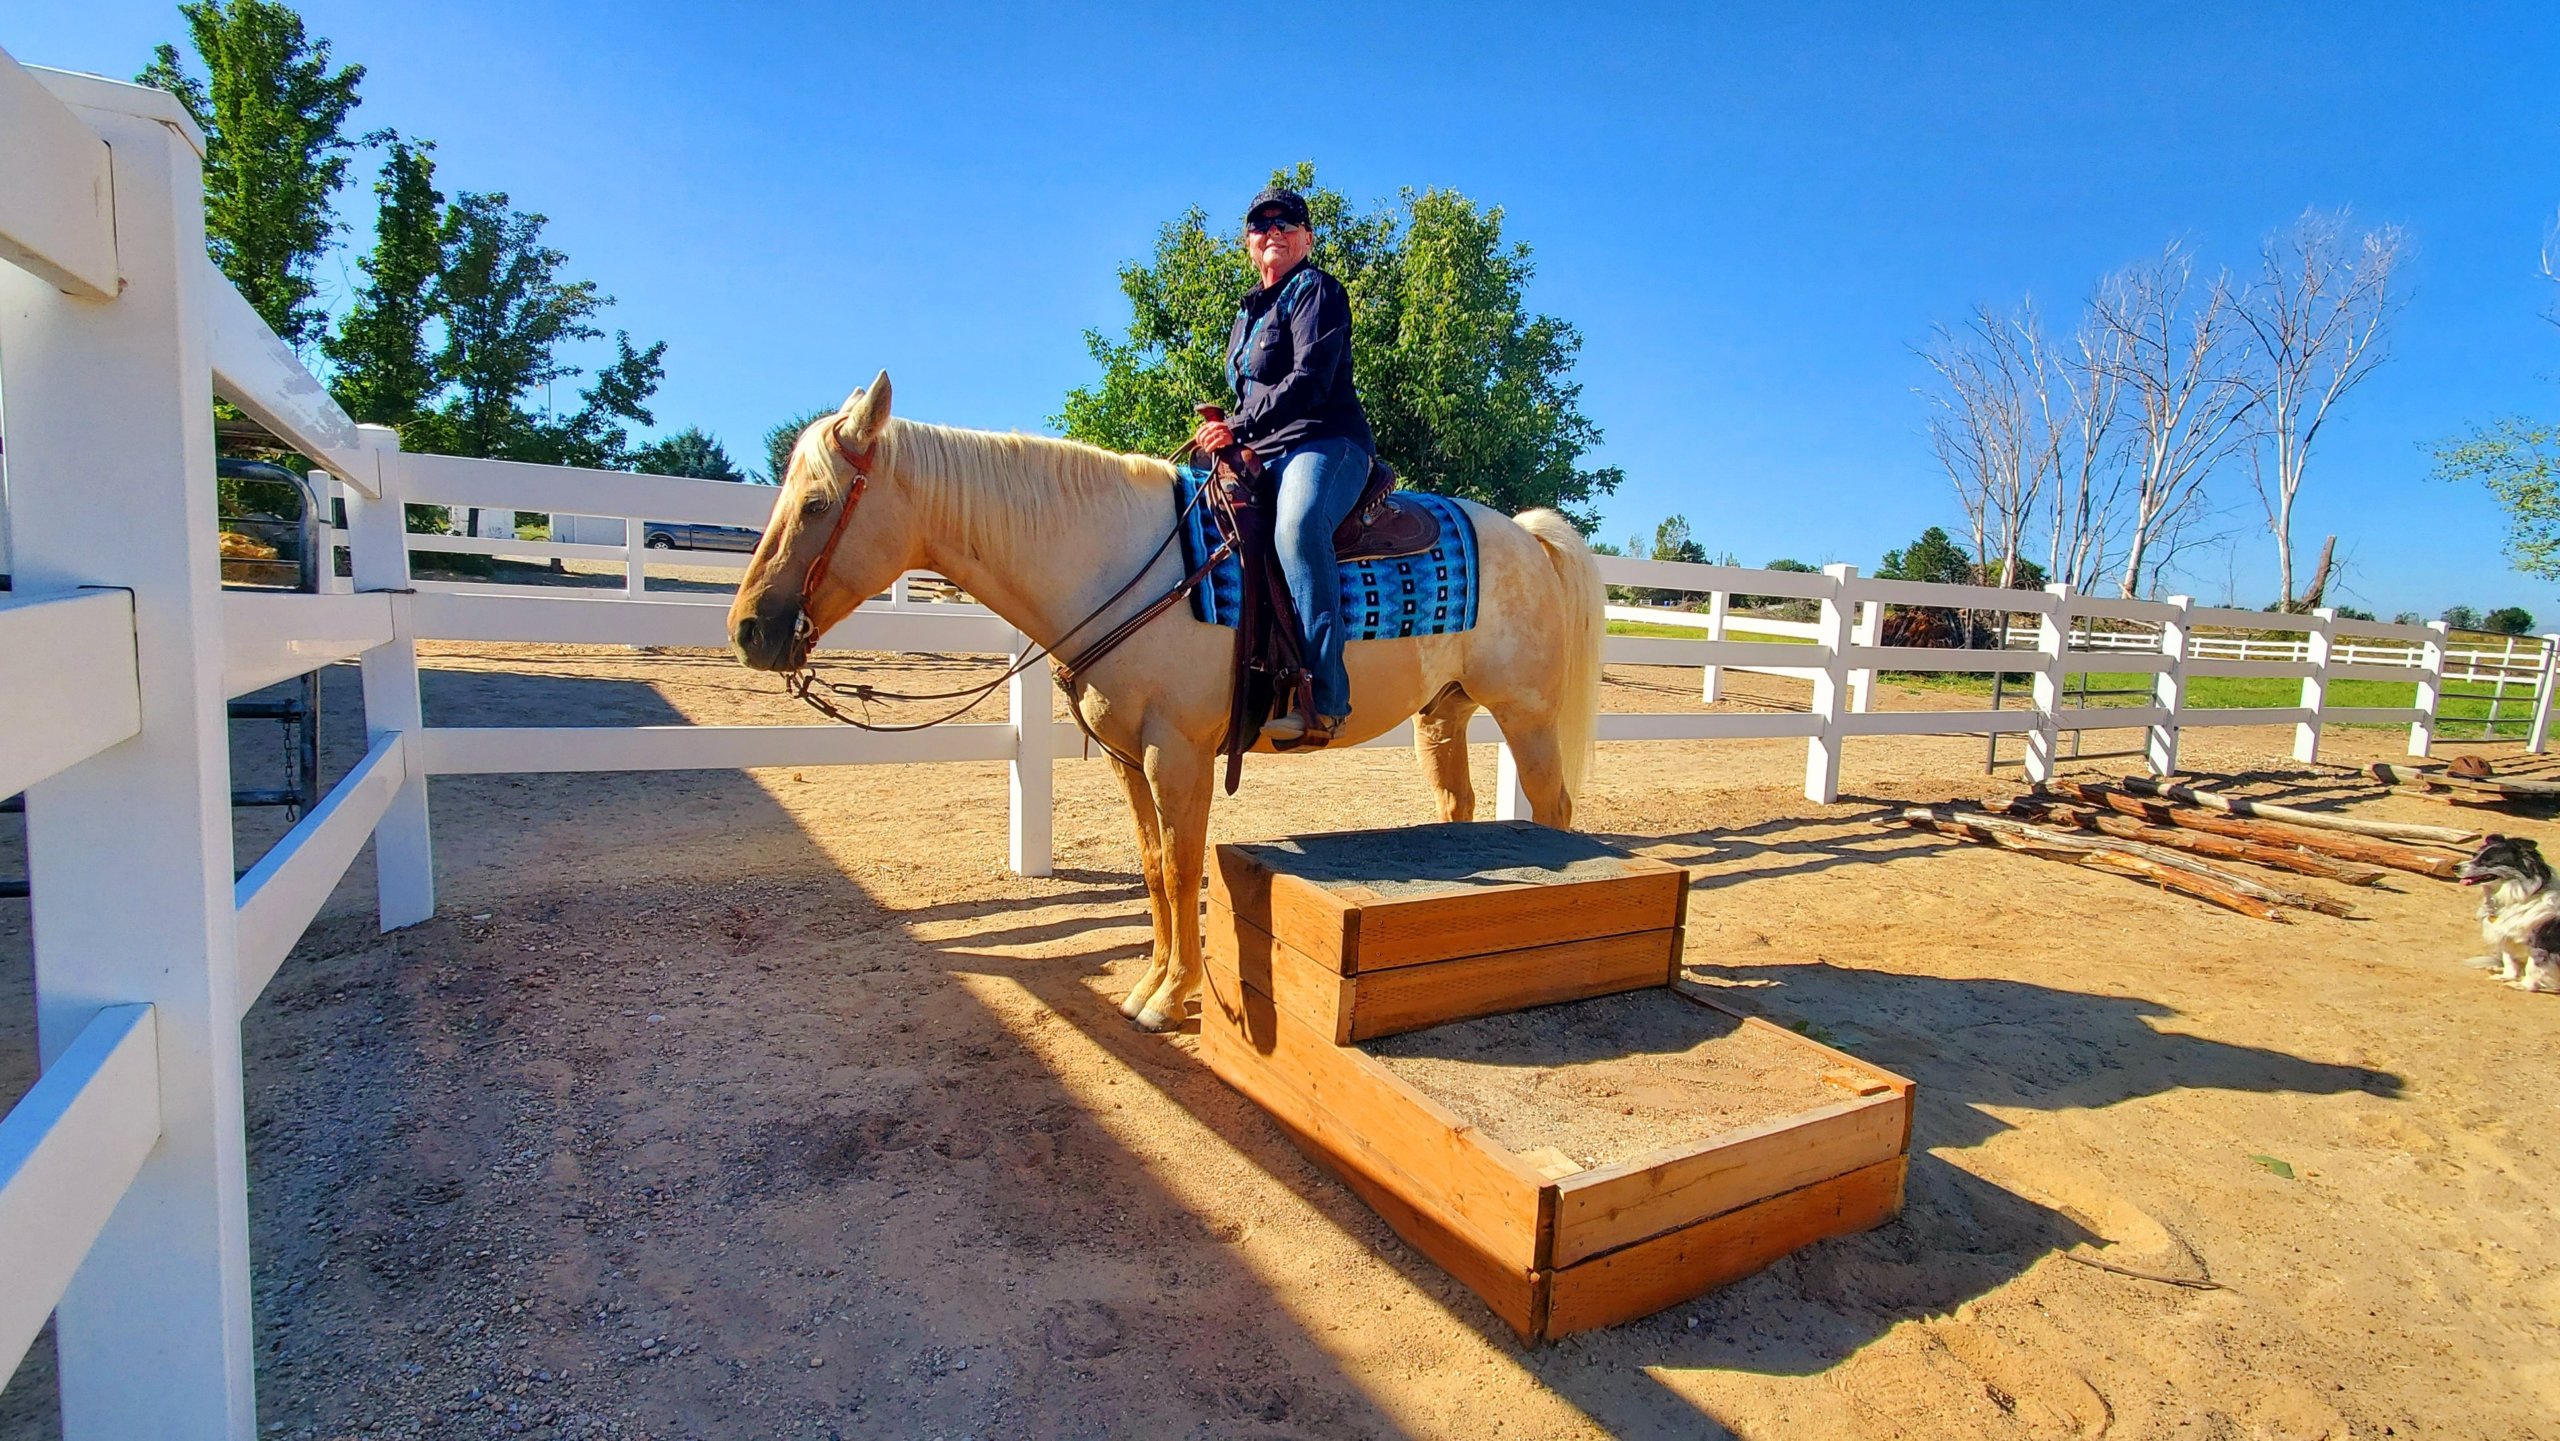
Our 4′ x 3′ permanent mounting block consists of two steps. The bottom step is 2′ deep x 3′ wide x 11″ tall. The second step (the top) is also 11″, making the whole thing about 22″ tall. We used treated lumber since the boards are in contact with soil and the whole thing will obviously be out in the weather (ours has lasted 10 years and shows no signs of deterioration.)
Choose a location for your mounting block that will be convenient. Since this will be a permanent installation be sure you don’t block equipment usage or create any safety issues. Will a horse stand comfortably next to it and not feel trapped? Can you get tractors, drags, or other equipment past it?
We located our mounting block just outside the gate to the outdoor arena which is also near the indoor arena. It’s about four feet from the arena fence which creates a slight “chute” that helps hold the horse in place, so they don’t swing a hip away when mounting.
Helyn chose a location inside her arena in a corner where a drag doesn’t go. She positioned the mounting block far enough away from the fence so she could have options of which side to mount from. There’s also enough room so she can potentially use the mounting block as an obstacle and trot into the corner and around it. The site chosen should be level with good, stable footing around it.
Materials
- Six 8-foot 2′ x 6′ planks
- Two 8-foot 4′ x 4′ posts
- 1 lb. box of 2½ in. wood screws
- Fill material of crushed rock and/or sand
Tools
A circular saw to cut the lumber, a tape measure, and a framing square —or something to get lines straight on boards (mark where you want your cut, then use the framing square to draw a straight line across the board so the cut will be square); a carpenter’s level, power drill for attaching screws, and a shovel for leveling ground and digging holes for the corner legs.
Construct Your Mounting Block
- Purchase materials and assemble tools.
- Cut wood to prescribed dimensions:
2×6 for sides: Cut four 4′ lengths, eight 3′ lengths, and four 2′ lengths
4×4 for corner posts: Cut four 26″ posts and two 15″ posts
Note: approximately 4″ of the 4×4 corner posts will extend into the ground to anchor the mounting block into the ground.
- Assemble mounting block body on any level surface (we used the back of our pickup).
- On each 4×4 post, mark 4″ from the bottom as the starting point for your first side plank.
- Above this 4″ mark, attach two 4′ 2×6 planks (stacked edge-to-edge) to a 26″ 4×4 at one end and a 15″ 4×4 at the other end. Construct the second side separately, mirroring the first side.
- On the 26″ post, above the 4′ 2×6 planks, attach two 2′ 2×6 planks, stacked edge-to-edge to the remaining height of the post. For the opposite side of the box, be sure to mirror the construction so posts end up on the inside of the box.
- At the top of the two unused 26″ posts, attach two of the 3′ 2×6 planks, stacked edge-to-edge. This forms the front wall of the top step. Set this aside.
- Form the box by attaching two 3′ planks to the short (front) end of the sides and four 3′ planks to the tall (back) end of the sides, stacked edge-to-edge as the sides are.
- Attach the top step front (built in step D above) between the box sides at the front edge of the top step’s side walls.
Install Mounting Block in Place
- Roughly level ground at site and mark the location of anchor legs.
- Dig six holes, one for each of the anchor legs.
- Place assembled unit into holes and use the carpenter’s level to be sure it is sitting evenly front to back and side to side.
- Fill in holes around anchor legs to stabilize mounting block, double checking with carpenter’s level as you go.
- Fill in box with crushed rock or sand.
Considerations for Use
Not all horses are immediately comfortable using a mounting block. Take your time familiarizing your horse with the process and seek help if needed.
And now, mount up and ride!
Check out the Horses for Clean Water website for information on online classes, private consultations, tip sheets, and other resources for horse keeping and land management education.
See this article in the 2020 November online edition:
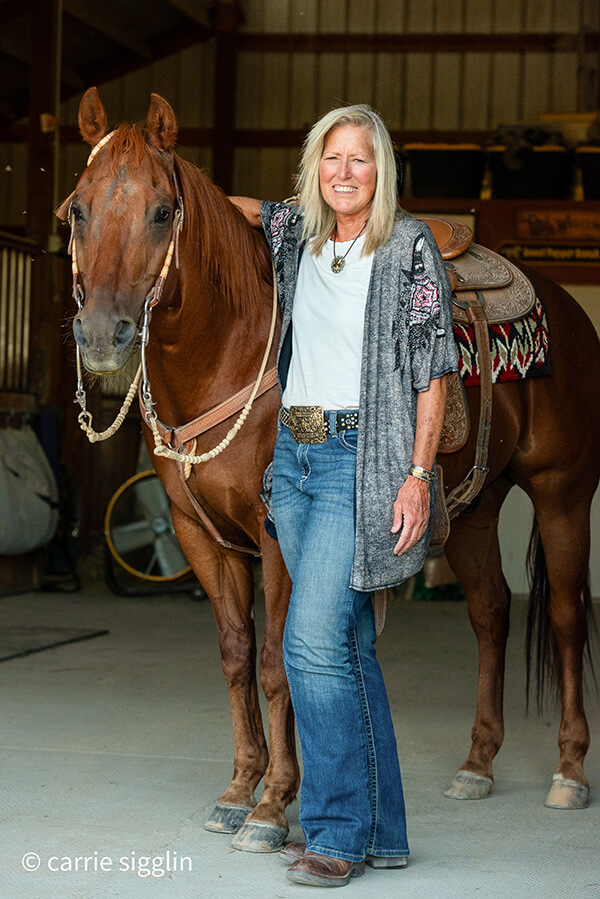
Alayne Blickle began in the 1990’s as a pioneer in water conservation and natural resources conservation by creating the entrepreneurial consulting business, Horses for Clean Water, an award-winning internationally acclaimed education program that looks for horse-healthy, nature-based solutions to land management challenges. She continues this work today partnering with agencies, organizations, and horse owners throughout North America and worldwide. She is a regularly contributing writer and photojournalist to several equine publications.
Alayne lives with her horse trainer husband, Matt Livengood, in southwestern Idaho where they raise and train AQHA horses and mustangs on their eco-friendly horse ranch. Contact her through the Horses for Clean Water website or through their ranch website Sweet Pepper Ranch.
For more information contact Alayne at [email protected] or 206-909-0225.
